If you haven't read any of that series, you can start at the beginning.
Click here for the exact position of the "Making a Tshirt" tutorial that this mini-tutorial fits in.
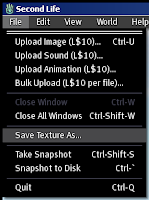
1. If the texture is in SL, download it to your hard drive. Open the texture, go to the File menu (up in the top left of the screen), and "Save Texture As..."
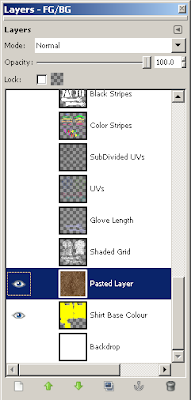
2. Open the texture in the Gimp, and paste it into your image as a new layer; or if you're making it from scratch, create it in the Gimp on a new layer.
You may need to 'Scale Layer' to make it the correct size. You can find that in the Layers menu.

3. Go to the 'tshirt' shaped layer of your image. In part 2 of my tutorials you can see some clear pictures of that layer. Make sure to select this layer in the layers dialog.
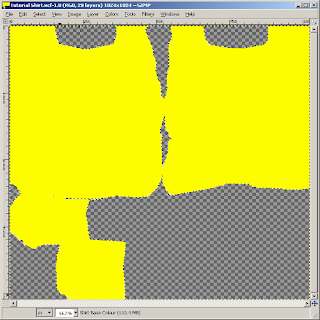
4. Use 'select by colour' to select the transparent parts of that image: we're doing that to tell the Gimp what to cut away from the texture layer.
5. Move to the texture layer.
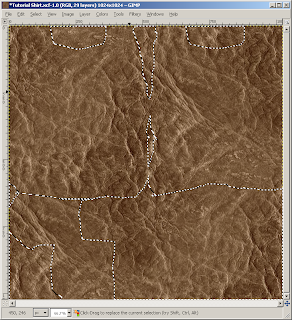
6. Use 'cut' to cut away the selected parts from the texture layer.
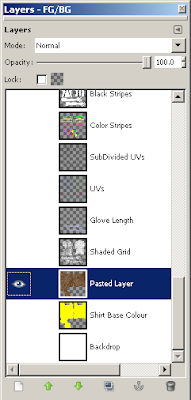
7. Turn off the colour layer (you won't need it now) (don't delete it - you might want to use it again for a later texture.)
8. Proceed as stated in the rest of the tutorial.


No comments:
Post a Comment